Colmap + OpenSplat
P104 Deployment Log
Generating 3DGS Gaussian splats from multi-view images. A complete record of setting up the 3D reconstruction toolchain, including Colmap parameter tuning, OpenSplat environment setup and compilation, and hands-on experience with the P104 GPU.
Colmap Parameter Tuning
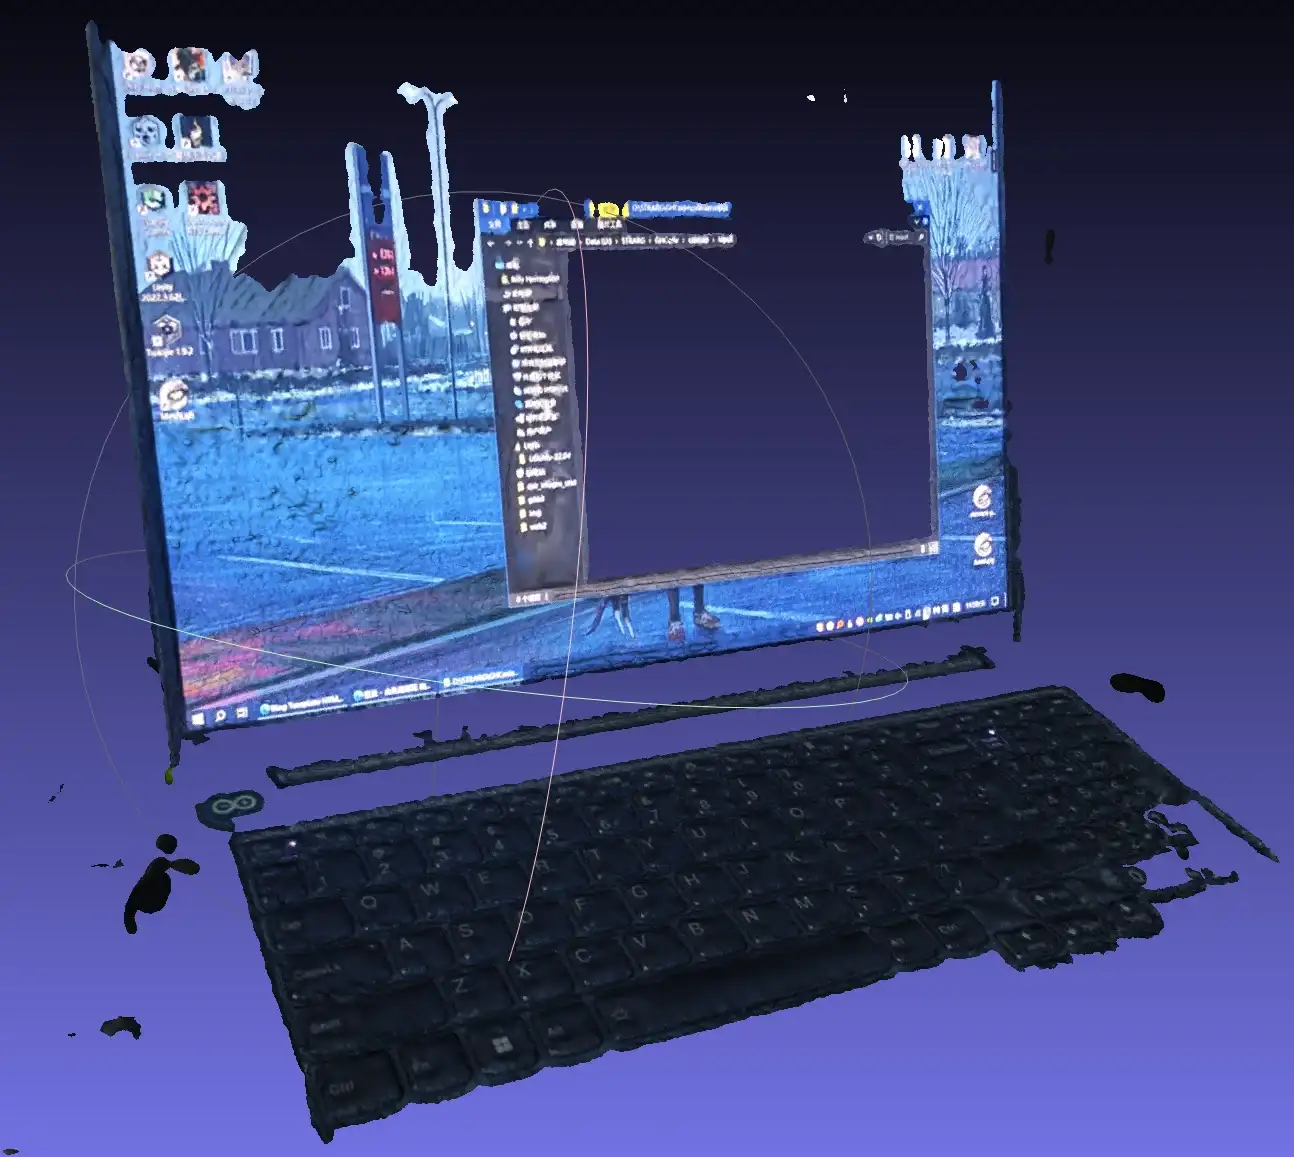
Colmap is ready to use straight away — just download the archive from GitHub and extract it. In actual reconstruction, however, the centers of flat surfaces tend to end up with large blank areas, which usually means the algorithm can't "see" enough feature points in those regions for matching and 3D reconstruction. The problem mainly lies in the parameter settings of two stages: feature extraction and dense reconstruction.
Below are the parameter combinations worth trying first from the UI, ideally in order:
Step 1: Let the algorithm "see" more clearly (tune feature extraction)
These adjustments help Colmap extract enough feature points even in areas with poor texture (such as white walls or smooth floors).
- Where: in the Colmap UI, find the
Feature Extractionoption. - Recommended changes:
- Increase the feature count: raise
max_num_featuresfrom the default8192to16000or32000. This lets the algorithm extract more points, raising the odds of finding features in blank areas. - Capture more detail: lower
SiftExtraction.peak_thresholdfrom the default0.00667to0.003or0.001. This lowers the feature detection threshold so the algorithm can pick up more subtle features. - Cope with viewpoint changes: check
SiftExtraction.estimate_affine_shape. This improves robustness to large viewpoint changes, especially for orbiting shots.
- Increase the feature count: raise
Step 2: Make matching more "lenient" and "precise" (tune feature matching)
These adjustments aim to build as many connections between feature points as possible while keeping quality up.
- Where: under the
Feature Matchingoption. - Recommended changes:
- Relax matching criteria: raise
max_ratiomoderately from0.80to0.85or0.90. This parameter controls match distinctiveness; relaxing it lets in more matches (possibly slightly lower quality), which helps connect sparse regions. - Add candidate matches: try changing
guided_matchingfrom-1to1to enable it. This uses the existing geometric information to guide the search for more matches. - Secure the base matches: raise
min_num_matchesfrom15to30or50. This ensures enough matches for two-view geometry estimation, which yields a more robust model.
- Relax matching criteria: raise
Step 3: From "points" to "surfaces", filling in the holes (tune dense reconstruction)
If the sparse point cloud still has holes after the first two steps, patch things up at the dense reconstruction stage.
- Where: before starting dense reconstruction, click the
Optionsbutton and open thePatchMatch StereoorFusiontab. - Recommended changes:
- Enlarge the matching window: increase
window_radiusfrom the default5to7or9. A larger window covers more pixel information and improves matching stability in low-texture regions. - Set the depth range manually: in
depth_minanddepth_max, enter a range manually based on the approximate scene distance (e.g.0.5to10meters indoors) instead of using-1for automatic calculation. This effectively prevents the algorithm from producing lots of holes due to a bad depth-range estimate.
- Enlarge the matching window: increase
OpenSplat Environment Setup
Environment Setup
CUDA 11.8 does not natively support Visual Studio 2022 (v17) and will show "No CUDA toolset found"; you can upgrade to CUDA 12 instead. If you use CUDA 11.8, you need to copy the files manually:
Copy all of the files under C:\Program Files\NVIDIA GPU Computing Toolkit\CUDA\v11.8\extras\visual_studio_integration\MSBuildExtensions\
into
C:\Program Files\Microsoft Visual Studio\2022\Community\MSBuild\Microsoft\VC\v170\BuildCustomizations\
(adjust the paths to your actual install locations). There are 4 files in total:
CUDA 11.8.propsCUDA 11.8.targetsCUDA 11.8.xmlNvda.Build.CudaTasks.v11.8.dll
Set the environment variables and install PyTorch:
set DISTUTILS_USE_SDK=1
set CUDA_HOME=C:\Program Files\NVIDIA GPU Computing Toolkit\CUDA\v11.8
set PATH=%CUDA_HOME%\bin;%PATH%
python -c "import os; print(os.environ.get('CUDA_HOME'))"

pip install torch==2.5.1+cu118 torchvision==0.20.1+cu118 --index-url https://download.pytorch.org/whl/cu118
pip install -v -e .Note: usable only after building. Be careful not to use the 2026 version of Visual Studio. Nanoflann, json, cxxopts, and glm need to be downloaded from the network; if that's too slow, download and extract them from GitHub directly. The OpenCV version used here is 4.9.
Compile and Build
The P104 has a compute capability of 6.1 (reference link). Note that for the manually downloaded packages, change the paths to your own locations. In the Developer Command Prompt for VS 2022, build with the following CMake commands:
cmake -G "Visual Studio 17 2022" -A x64 \
  -DCMAKE_PREFIX_PATH="D:/Sware/libtorch;D:/Sware/opencv/build" \
  -DFETCHCONTENT_SOURCE_DIR_nanoflann=D:/Sware/nanoflann \
  -DFETCHCONTENT_SOURCE_DIR_json=D:/Sware/json \
  -DFETCHCONTENT_SOURCE_DIR_cxxopts=D:/Sware/cxxopts \
  -DFETCHCONTENT_SOURCE_DIR_glm=D:/Sware/glm \
  -DOpenCV_DIR=D:/Sware/opencv/build \
  -DCMAKE_CUDA_ARCHITECTURES=61 ..

cmake --build . --config Release
If running the exe after the build reports that opencv_world490.dll cannot be found, add an environment variable:
$env:Path += ";D:\Sware\opencv\build\x64\vc16\bin"Run and Test
Generate the dataset with Colmap, then do the Gaussian splatting with OpenSplat:
1. Create the Colmap database and extract image features
colmap feature_extractor --database_path dataset/colmap_output/database.db --image_path dataset/input --ImageReader.single_camera 12. Perform feature matching (use exhaustive matching when there aren't many photos)
colmap exhaustive_matcher --database_path dataset/colmap_output/database.db3. Run sparse reconstruction (structure from motion)
mkdir -p dataset/colmap_output/sparse
colmap mapper --database_path dataset/colmap_output/database.db --image_path dataset/input --output_path dataset/colmap_output/sparse
4. Run dense reconstruction to generate a denser point cloud
colmap image_undistorter --image_path dataset/input --input_path dataset/colmap_output/sparse/0 --output_path dataset/colmap_output/dense --output_type COLMAP

colmap patch_match_stereo --workspace_path dataset/colmap_output/dense --workspace_format COLMAP --PatchMatchStereo.geom_consistency true

colmap stereo_fusion --workspace_path dataset/colmap_output/dense --workspace_format COLMAP --output_path dataset/colmap_output/dense/fused.ply
5. Copy the images folder, then run OpenSplat
You need to copy the dataset/colmap_output/dense/images folder into dataset/colmap_output/sparse/0 before doing the GS splatting.
Go into \OpenSplat\build\Release and run:
.\opensplat.exe D:\temp\GS3D\dataset\colmap_output\sparse\0 -o output.splatThis command processes the Colmap data and produces a Gaussian splat file named output.splat. You can also specify .ply as the output extension.
OpenSplat Key Parameter Tuning
OpenSplat offers a rich set of parameters to adapt to different scenarios. Here are the most commonly used ones:
-o [--output] arg: specifies the output file name; defaults tosplat.ply.--cpu: force running on the CPU. Worth considering when GPU VRAM runs out, but much slower.-d [--downscale-factor] arg: image downscale factor. When working with high-resolution images (e.g. 4K), set it to 2 or 4 to greatly reduce VRAM usage.-s [--save-every] arg: sets how many steps to wait between automatic saves of intermediate results. Prevents losing progress if training is interrupted;2000or5000is recommended.
Postscript
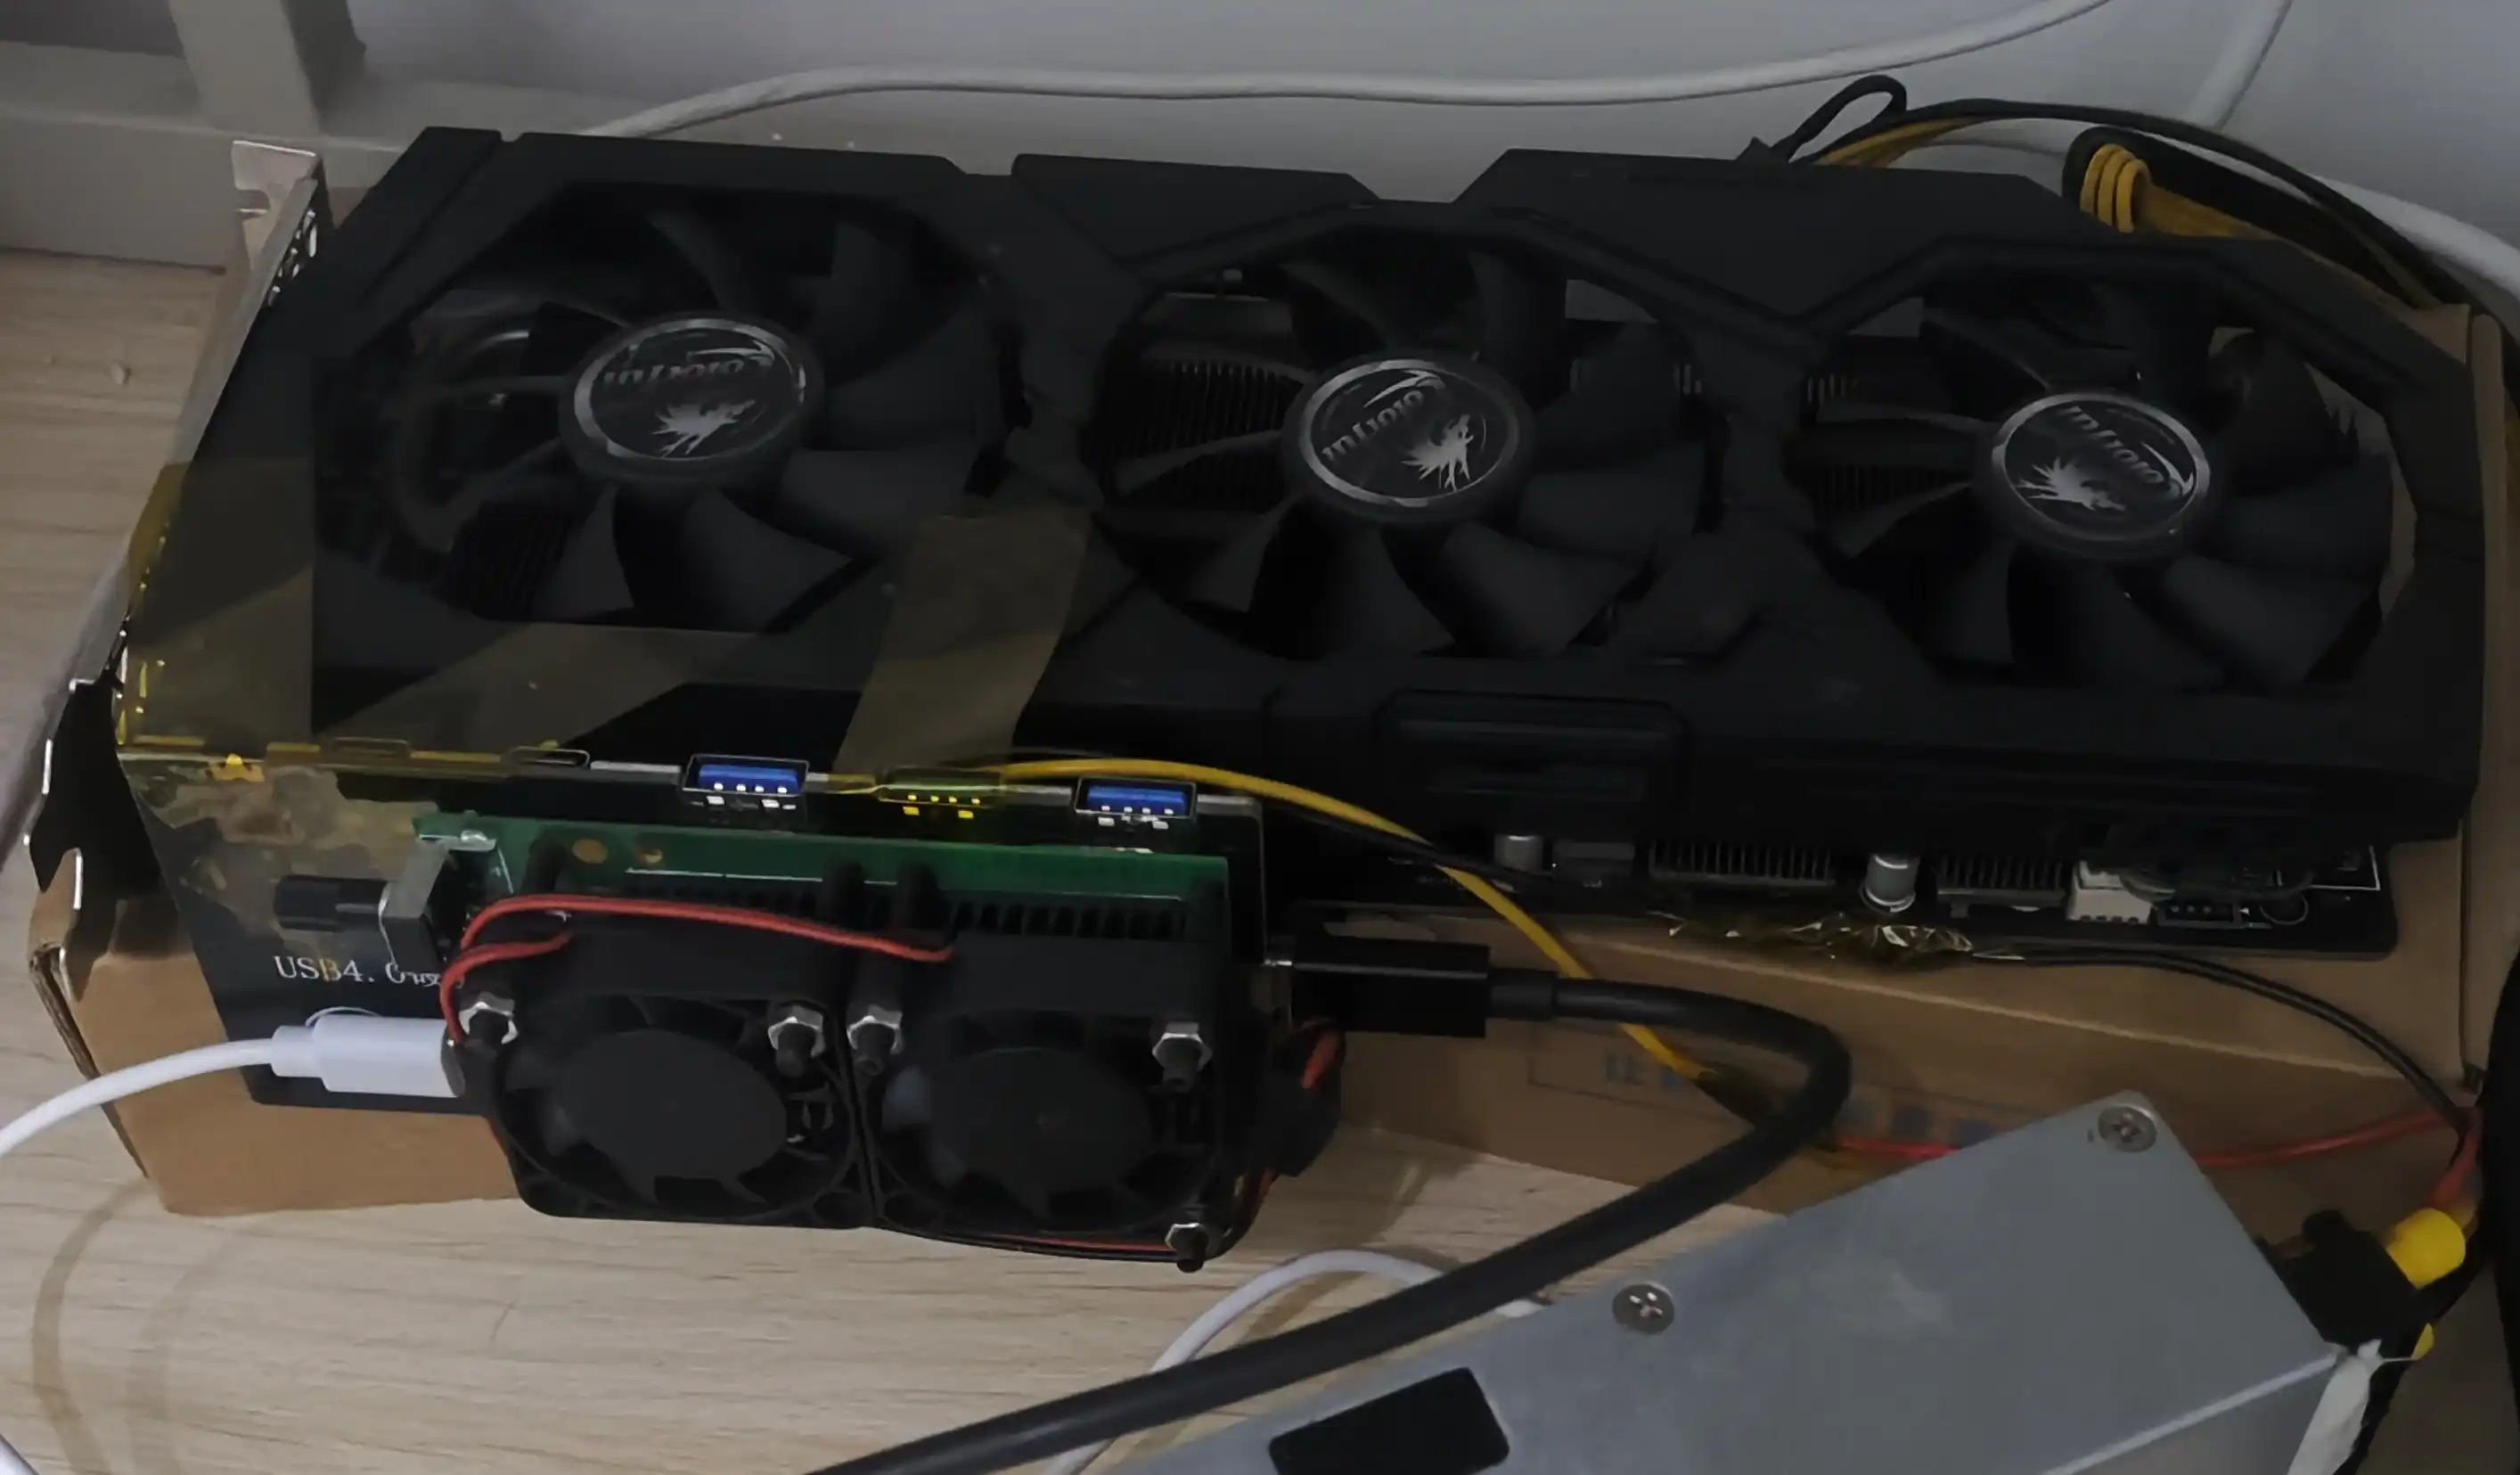
Running OpenSplat on 16 phone photos with no parameter tuning on the P104: the 8 GB of VRAM filled up in no time, and the time cost is measured in hours...
Next time I'll run it on a more modern GPU.
Happy Reconstructing! 🎉